|
Check out our YouTube video!!!
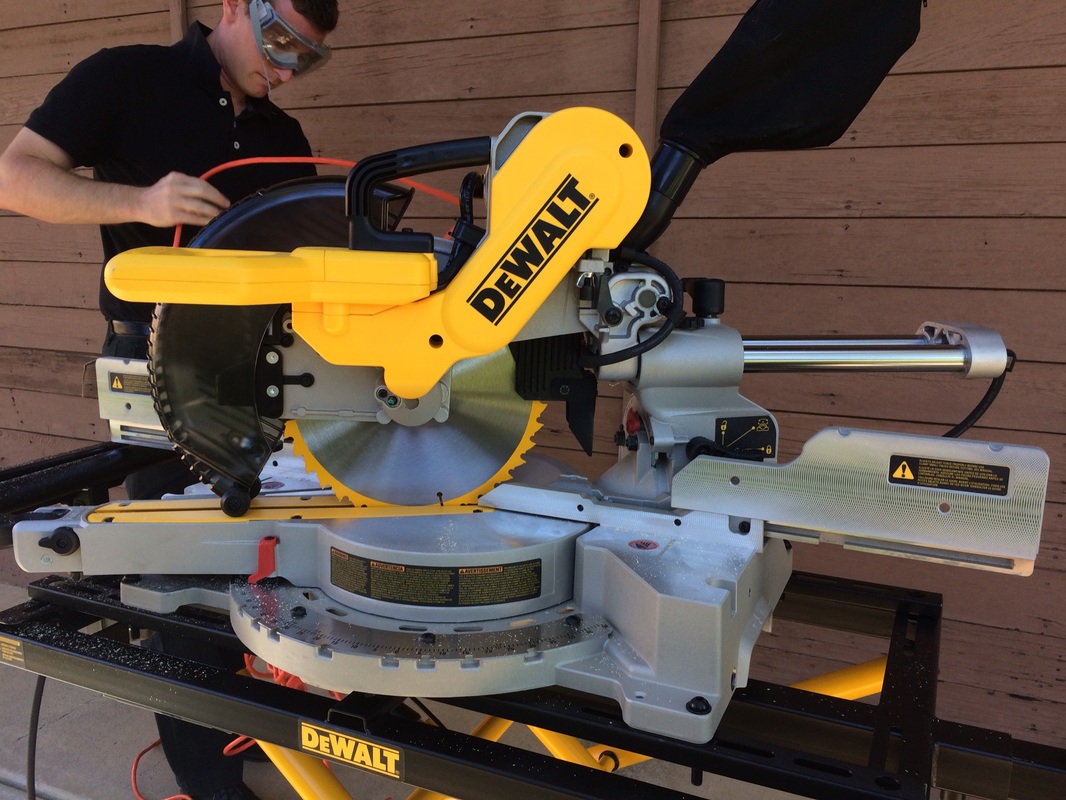
We used many tools in the making of our Rube Goldberg Machine. Here is the power saw used to make big cuts on wood.
This is the video we saw to base our Rube Goldberg Machine off of. Obviously their's is much more complex because they are professionals.
|
Terms and Concepts: There were a couple terms and equations we needed to know in order to make our calculations for our Rube Goldberg Project. Here are some of them: Force: F=ma( mass times acceleration.) Force is the push or pull on an object. Our car used force to hit the marbles, which made them go down the ramps. Measured in Newtons. Velocity: V=d/t ( velocity is the change in distance over the change in time.) Velocity is kind of like speed. It takes direction into account. However velocity is only in one direction. In our Rube Goldberg Machine our marble had velocity. Measured in m/s. Mechanical Advantage : (MA= F load / F effort) Mechanical advantage is a measure of the force amplification achieved by using a tool, mechanical device, or machine system. Our pulley used mechanical advantage because it made our job 1 time easier. No measurement. Friction: Friction was a constant worry because sometimes our wheel and axle or pulley would malfunction by stopping because of it. Sometimes the pulley would stall if there was too much friction. Work: (w=fd) Work is done when a force that is applied to an object moves that object. The work is calculated by multiplying the force by the amount of movement of an object (W = F * d). The pulley did work when pulled weight. Measured in Joules. Acceleration: ( a= the change in velocity/ the change in time.) You can calculate the acceleration when it is going fast or slowing down. When our marble accelerated we needed to be careful on how fast it went or else it would completely miss the target. Measured in m/s^2. Kinetic Energy: (KE=1/2mv^2) Energy that a body possesses by virtue of being in motion. In our Rube Goldberg Machine anything that was moving had Kinetic Energy. For example the marbles, car, and pulley. It is equal to Potential Energy if there are no outside forces like friction in play. Measured in Joules. |
This is our Rube Goldberg Machine! A Rube Goldberg machine is a contraption, invention, device, or apparatus that is deliberately over-engineered to perform a simple task in a complicated fashion, generally including a chain reaction. The expression is named after American cartoonist and inventor Rube Goldberg. We had 3 days to plan our project, 9 days to build it, and 3 days to build our presentation. A tight time frame but we were careful to manage our time wisely. We also created a construction log to look back at what we did and when we did it. During the first three days we made a blueprint. At the end we also made a blueprint to compare the differences. Our Rube Goldberg Machine consisted of 5 out of the 6 simple machines. They were the pulley, the lever, the inclined plane, the wheel and axle, and the screw. Our project also consisted of design principals. We used several of the principles of design with building this machine. Our dominoes have a rhythmic pattern as each of them topple over. We used a variety of mediums like marbles, funnels, cars, and dominoes to complete our final goal, dunking the cookie in milk. Throughout our project, there were many things that were more complicated or hard than we expected. For example, when we created our pulley we made a compartment for the marble to roll into to make the pulley go down. It turns out that the marble won't go into the exact spot every time. So we compromised and decided the we not use the compartment and let the ball roll into the milk itself. On the downside of the things that went wrong there were also things that went well. We successfully made many inclined planes, our screw worked perfectly, and our project was easy on the eye. Teamwork was crucial to this project. I definitely learned more about working with a team and how to listen to ideas and share with your group. I also learned how to use tools such as a power drill, a saw, hammers, and screws. There are a couple things I would like to improve on our project. Our pulley did not always go on the route we wanted it to. Sometimes it would wiggle and shake and even knock down some of the project. If I could, next time I would put two blocks of wood on both sides of the pulley so that the wood would guide the pulley to the exact position every time and would not mess up. I would also like to try and incorporate the wedge into our project. The wedge is the last simple machine that we did not include in our project. A couple of my peaks in the project were figuring out how to position the wheel and axle so that the cookie. What I did was drill another hole and put the wheel and axle there. All I needed to do was space it correctly. Another was when our group figured how to make our marbles go down the ramp and the screw at the same time. Jovais made a stopper for the car and then drilled two holes for the marbles to sit at. When the car hit the marbles the car would be stationary because of the stopper. The day of our presentation night I was nervous on how I was going to perform, but after the first presentation i felt better and knew I could do it. A couple of my pits was when I couldn't figure out how to mate the marble go into the compartment in the cup so we had to make it go in the milk. If I had more time then I definitely would have found a fix to that issue. Another pit was when we had to figure out how to make our dominoes topple. The marble would hit the bottom of the domino and not topple so we made a ramp for the marble to go off of and hit the top of the domino. Overall this project was very fun and I learned a lot about how to work with others and expect a lot more from the other projects. |
